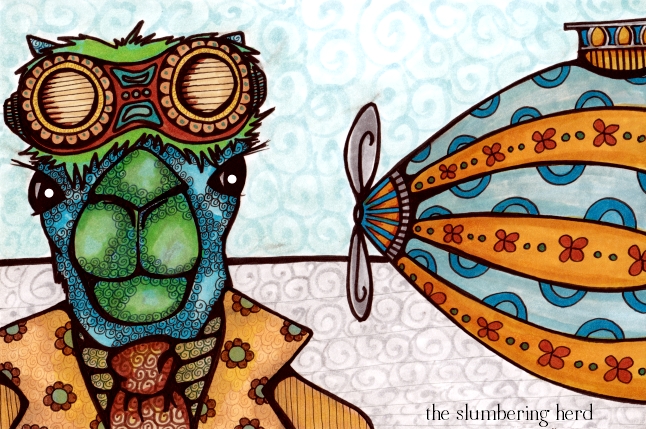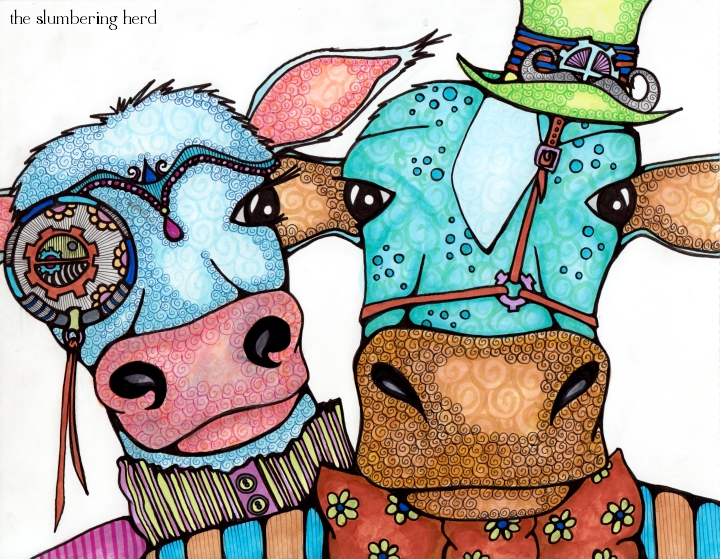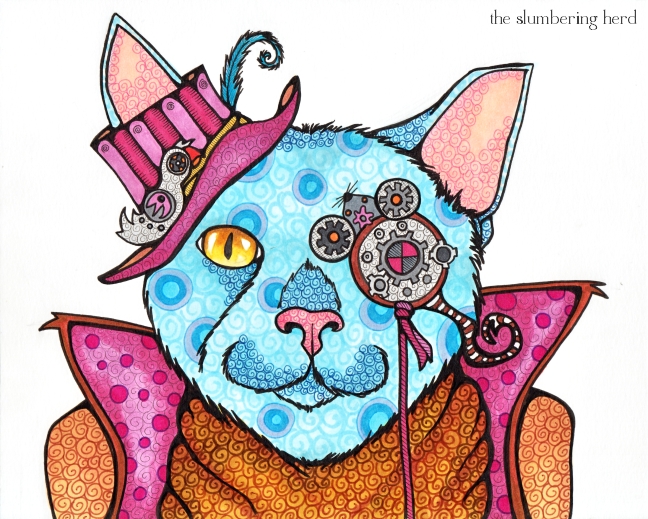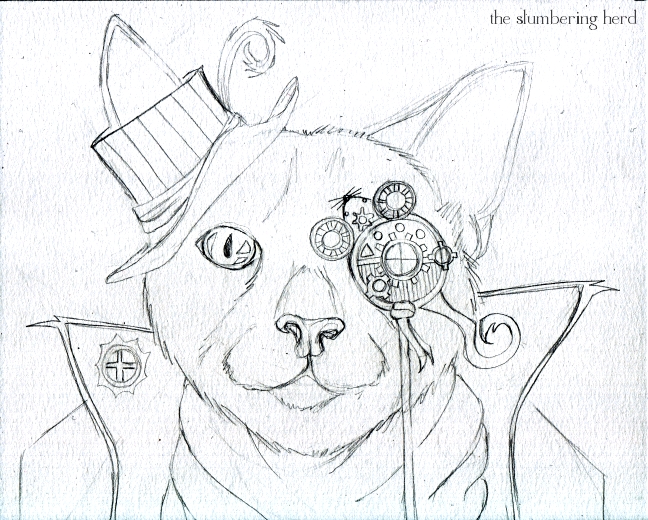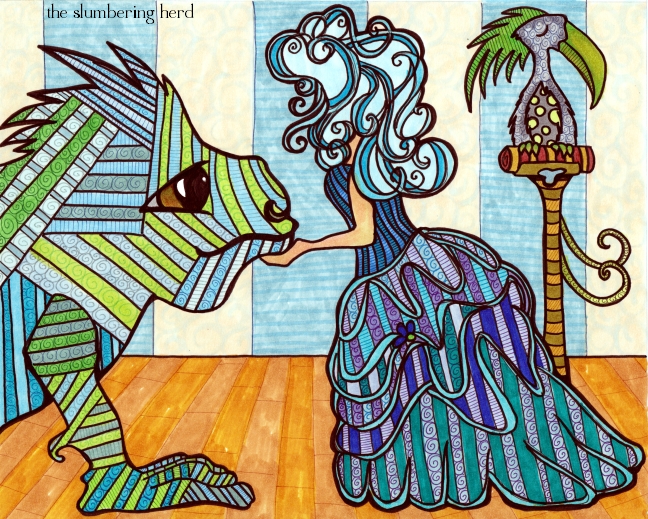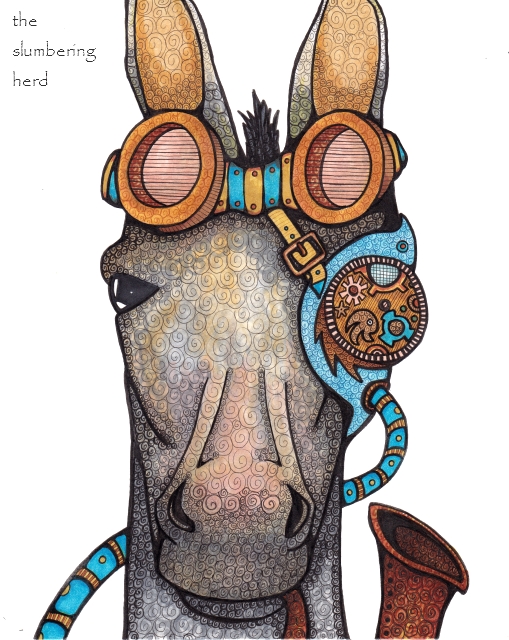
Steampunk Donkey Horse Original Art
Seriously cool update: Ok, so the seriously cool Copic folks actually used this post (most of it, plus some other things) as a tutorial on Copic’s official site!
More steampunk. More Copics. Another progression photo post! As you can see, the colors are somewhat more subdued than they have been, which was a conscious choice in an effort to replicate a little bit of the flavor of older, maybe even colorized, photography. This horse is not living in modern times, after all!
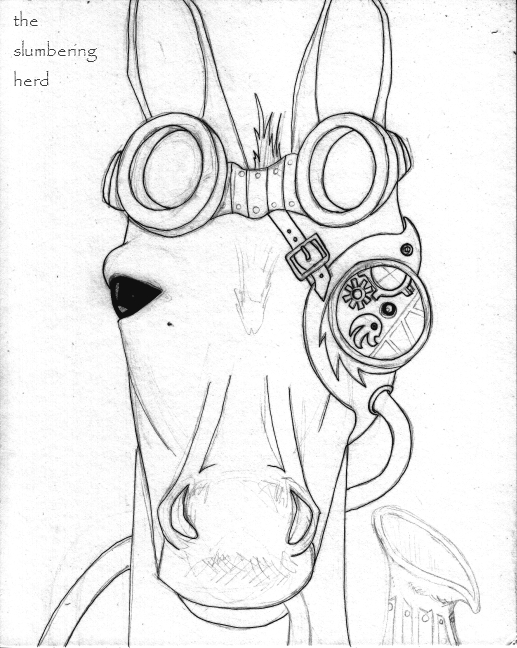
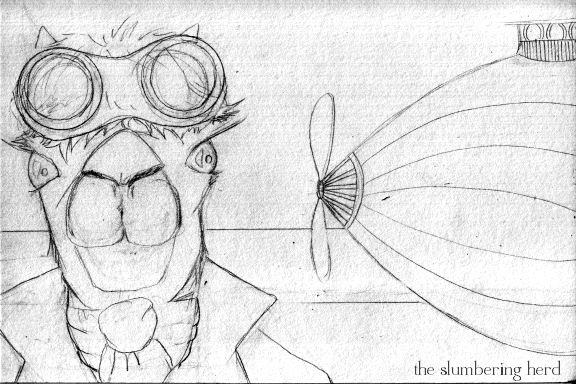
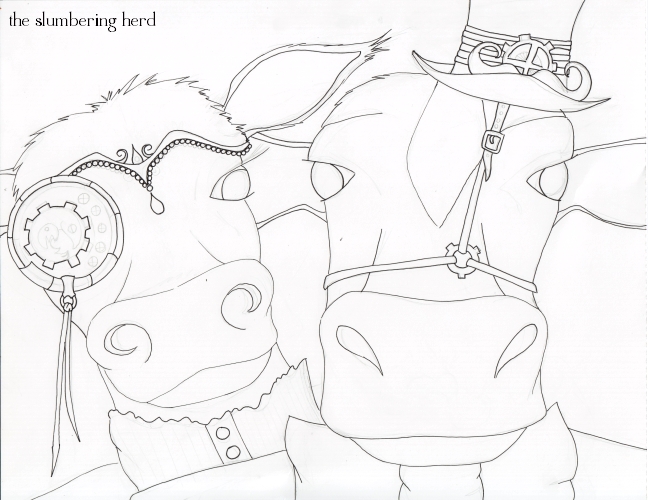
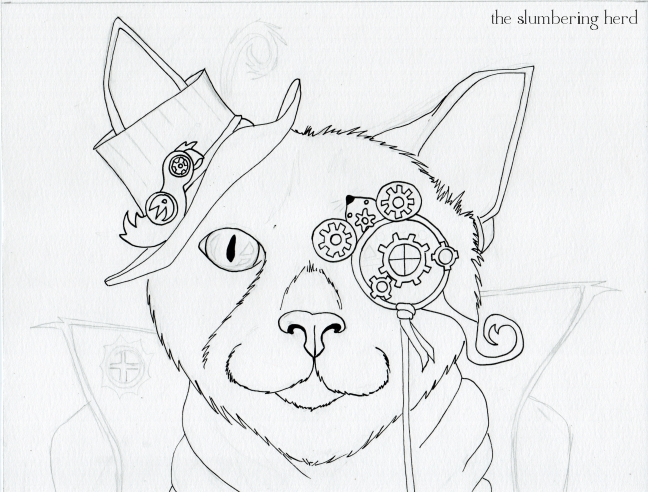
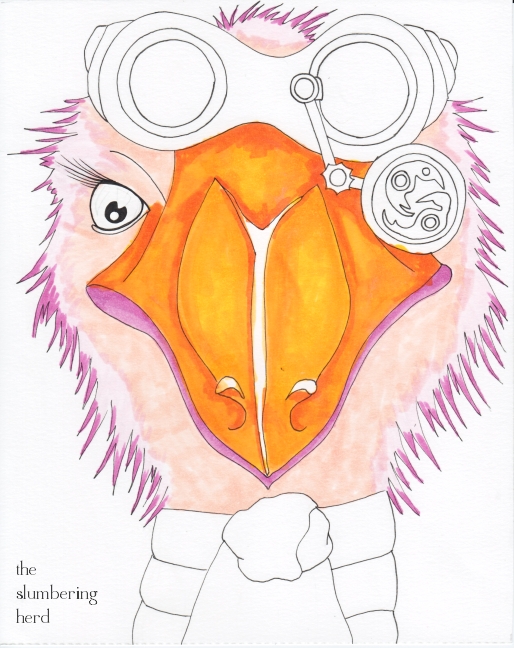
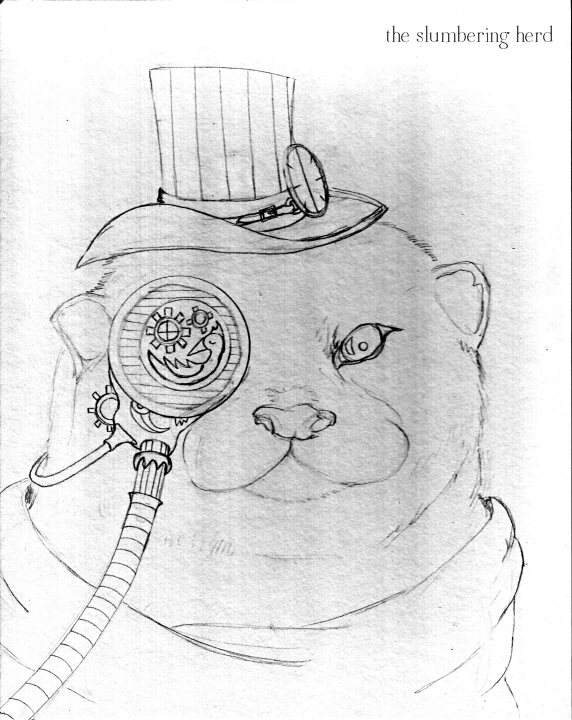
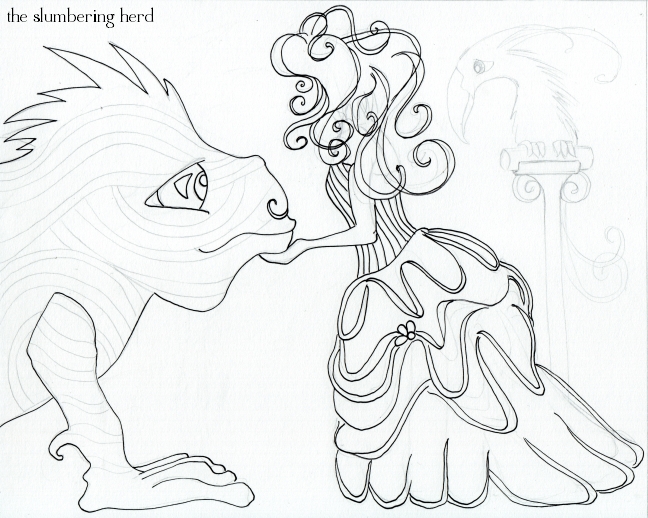
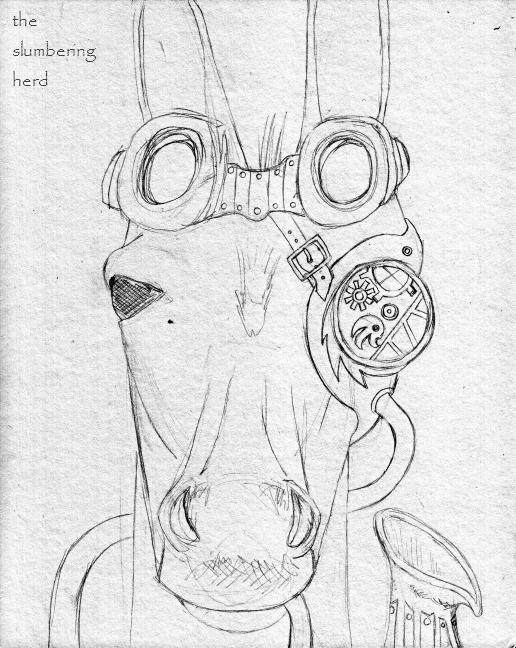
Figure One - Steampunk Donkey Horse Ink
I was referencing a photo of a donkey but as I said in the last post, the narrowing of the face seems to have made a horse instead. I added a pipe but I was not sold on it yet, so it isn’t actually inked in Figure One. (Ha! Figure One! Delusions of text-bookishness? I think I will use it for the whole post and try to decide its dork quotient.)
Initial ink with a 0.1 multiliner SP. I actually had to replace the nib in my 0.1 after using it for about a day, but I learned my lesson! It seems I’m rather hard on all my pens and markers, which seems to be part of my style, but I don’t recommend it.
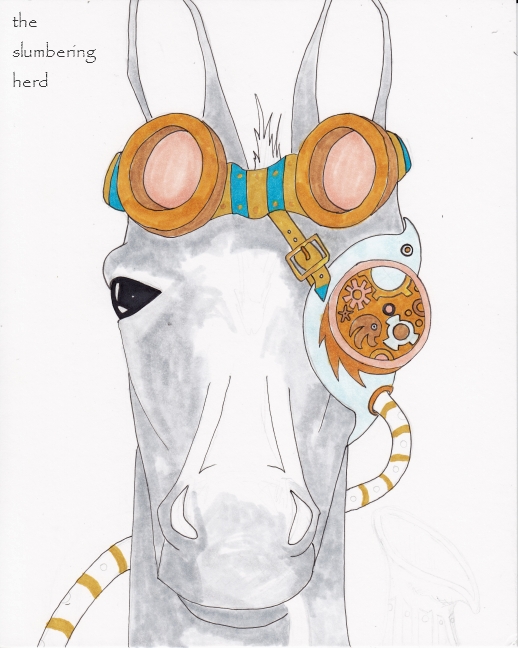
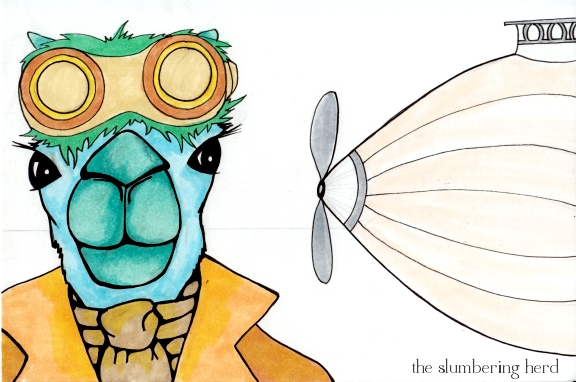
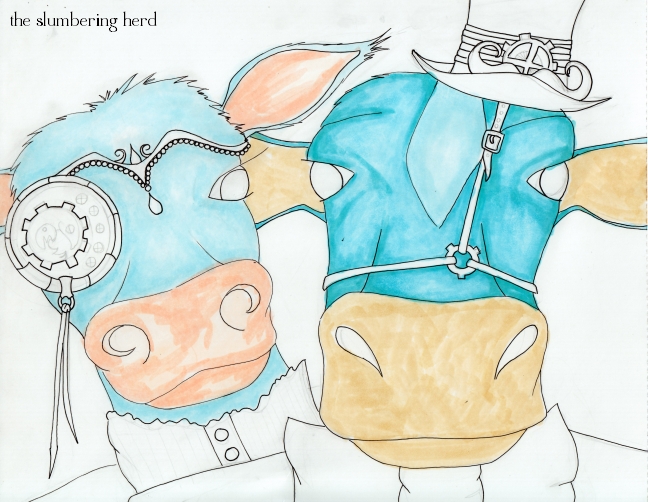
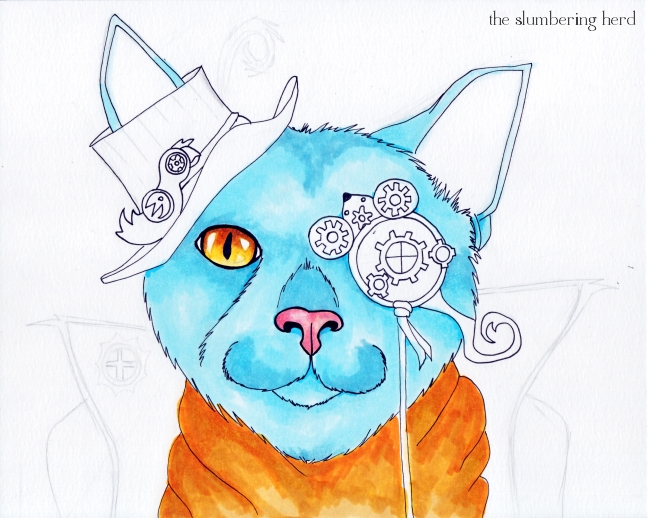
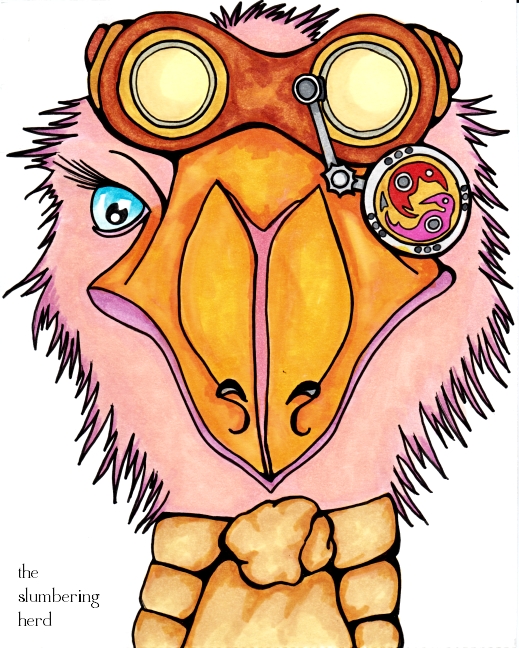
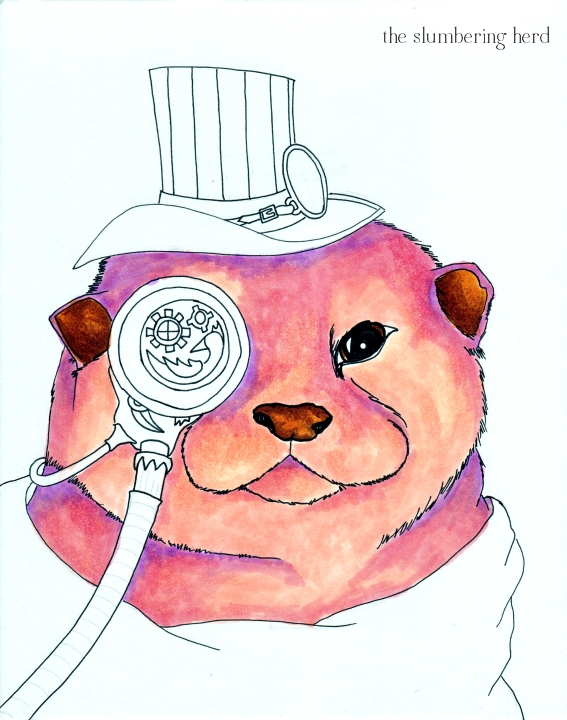
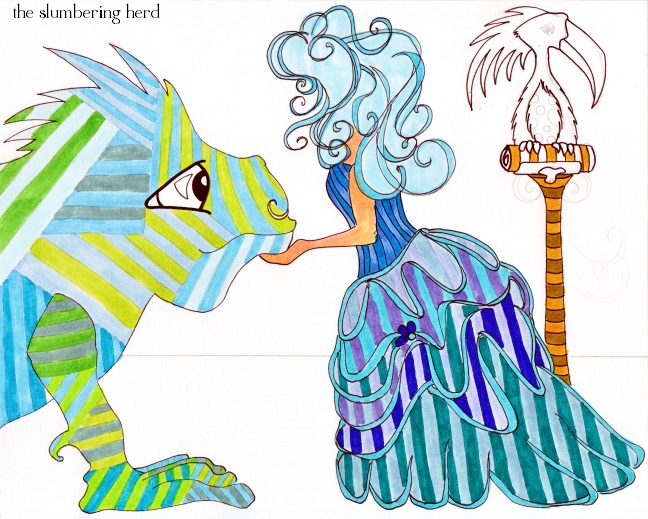
Figure Two. Steampunk Horse Color One
Figure two. Initial application of Copic color. I don’t own as many greys as I would like (are you a “gray” or a “grey” person?). This will be N1 and N4, and the browns and blues are Y26 (Mustard, love it!), Yr24, E35, B04 and BG000. The peachy color is E93 (Tea Rose, another favorite).
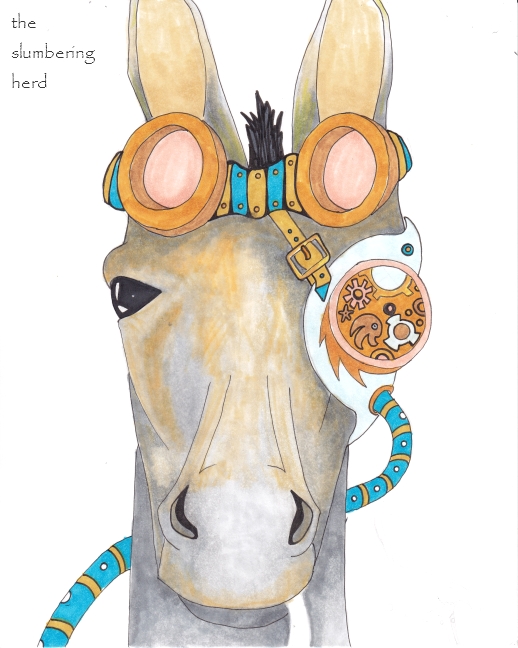
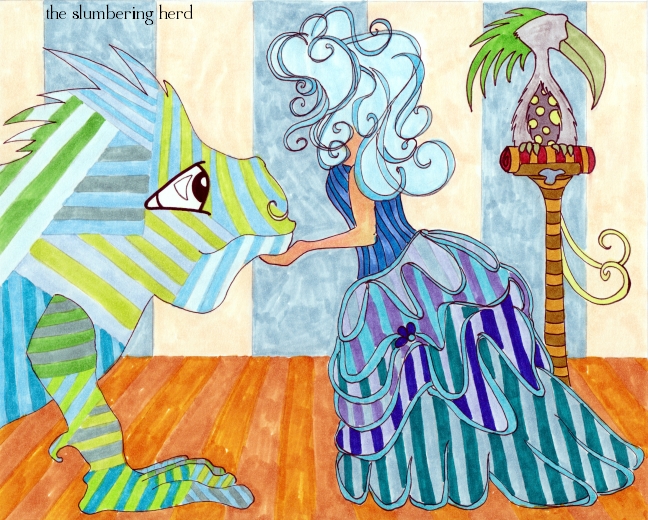
Figure 3. Steampunk Horse Color 2
More of the same colors, with a couple more greys C-3 and C-5 (but I only have Ciaos and they are running out!) I started using the Colorless Blender (Sketch size, which I believe I got in the Blending set. Used a 40% off one item coupon at Blick’s for that set!) You can’t buy the Sketch size Colorless Blender, just the Ciao (at my Blick’s, anyway).
Added some YR12 and YR23 to the E93 try to capture that strange reddish, yellowish tinge to a donkey’s face. Yes, I’m still working with a photo of a donkey for my horse.
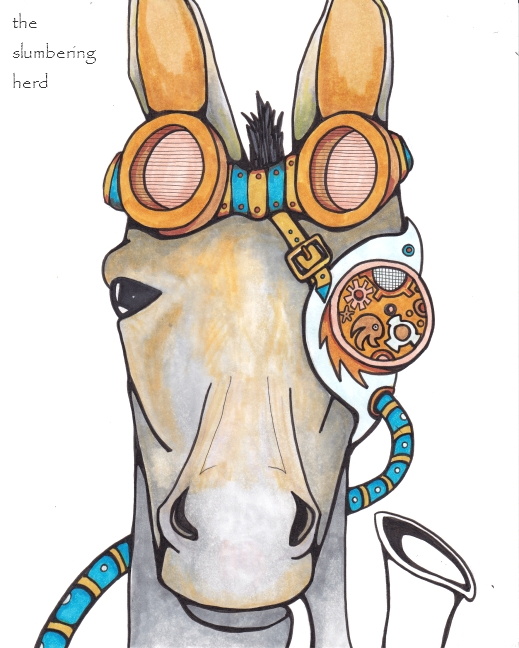
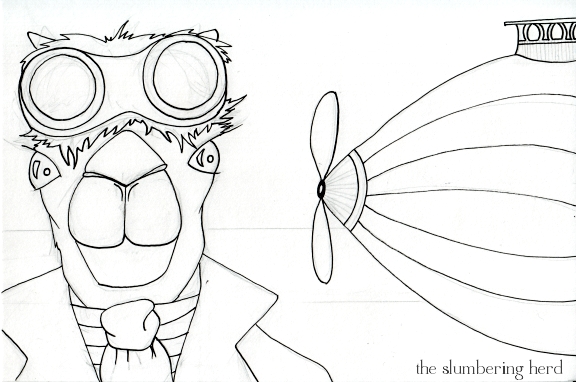
Figure 4. Steampunk Horse Ink 2
One of my favorite parts is the initial outline with a 0.8 multiliner when the drawing begins to come more to life. Also 0.3 and 0.1 for some details – and inked the pipe so now I’m stuck with it! It’s a little too low in the frame and I wish I had more space for more of the barrel of the pipe.
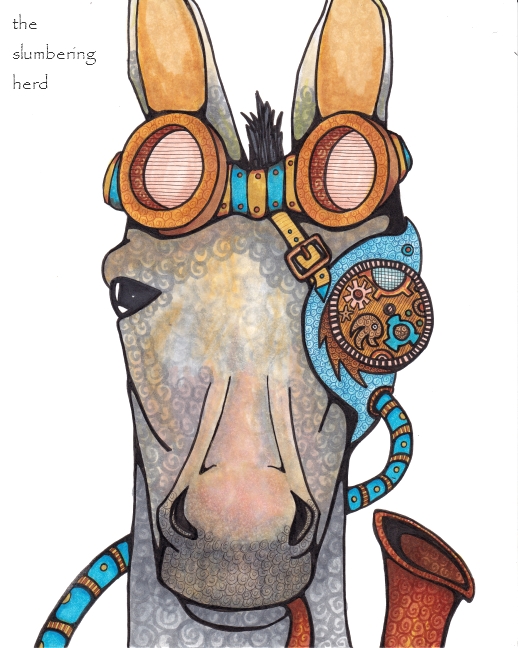
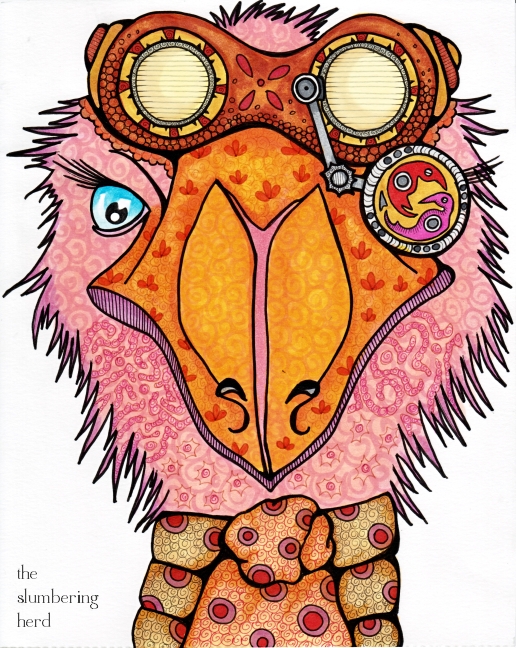
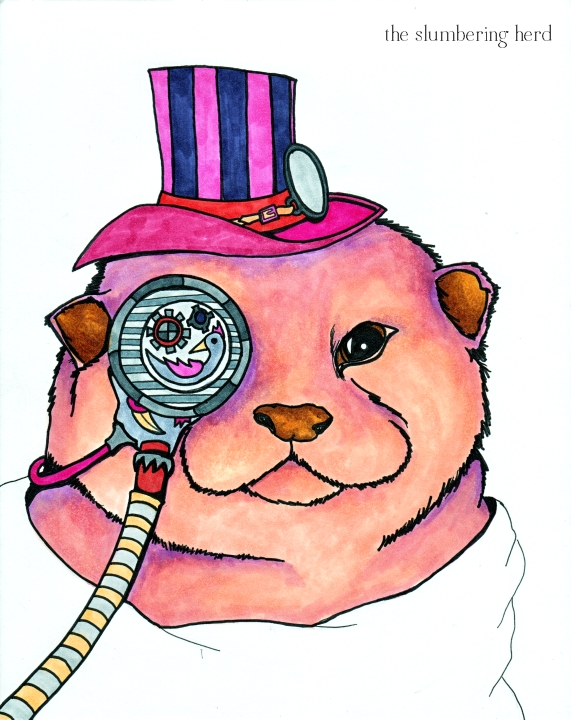
Figure 5. Steampunk Horse Color 3
Additional browns added: E08 and E53. Although I always do the swirl pattern, I often add some flowers. I decided to forego the flowers this time and see about doing only swirl patterns – the idea being that the eye piece, the goggles, the pipe and the tubing would be enough in the way of finer detail. Started adding even finer detail with the 0.05 multiliner SP (I have a few SPs, but mostly the disposal multiliners currently.) You can see the 0.05 in the horizontal lines on the goggle lenses and on the eyepiece.

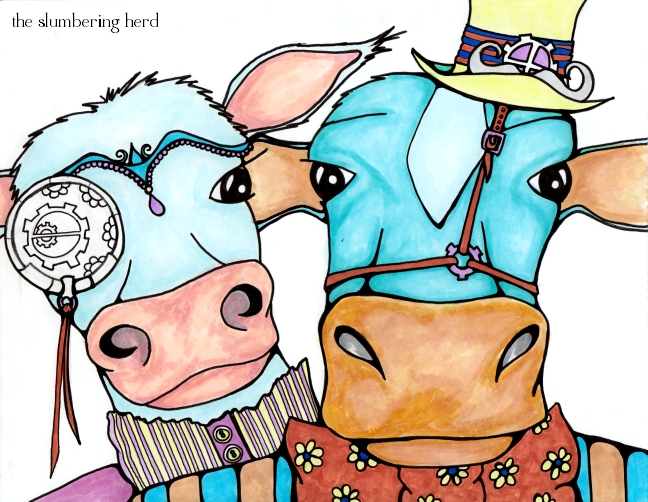
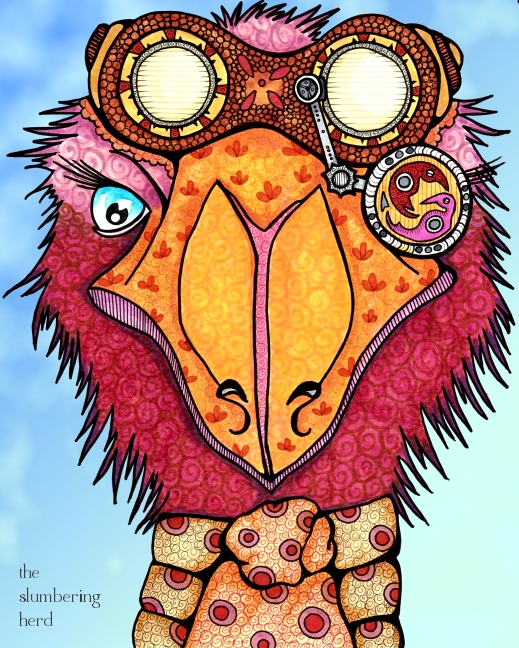
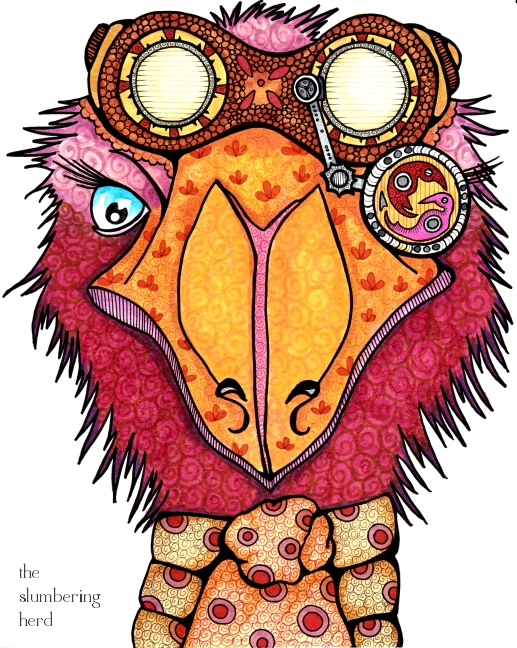
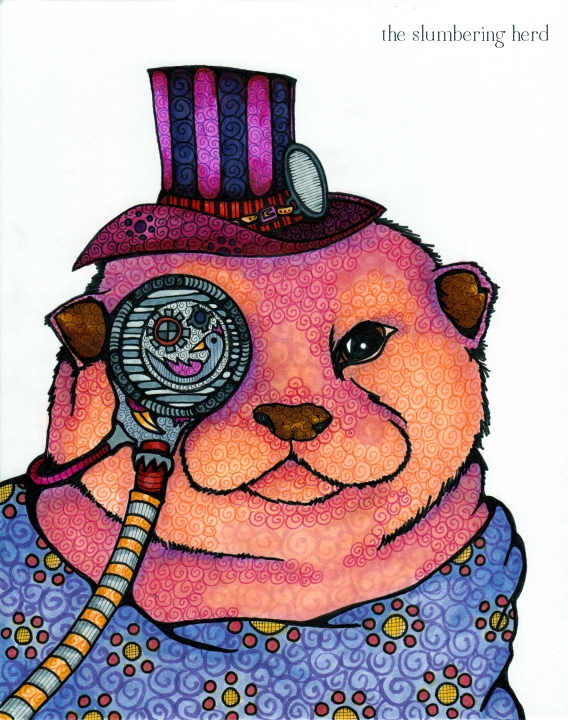
Figure 6. Steampunk Donkey Horse Original Art
Went a little swirl-nutty. One effect I particularly like is a colored multiliner over marker from the same color family, like on the bird’s body of the eyepiece. Also used some sepia multiliner on the goggles. I added a little B02 (Robin’s Egg Blue) to add a little depth to the blue. Tightened up some more details, then did the swirl thing with the 0.3, 0.1 and 0.05. Sometimes in the same place, if the color effect wasn’t as dark as I wanted. And though I usually leave some light spots with no swirls, the swirl-nutty fever was on me and I swirled the whole damn thing up (with the minor exceptions of the goggle band and metal tubing.)
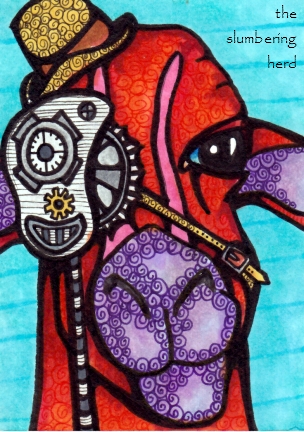
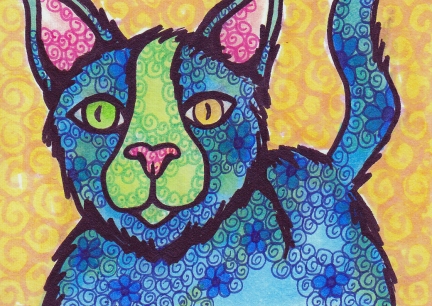
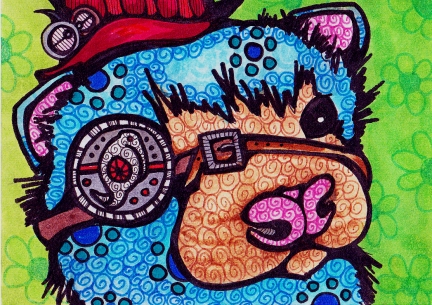
I like the effect of the subdued colors. As usual I am not sure about whether I want a background. At one point toward the end, I had actually sketched out a stripey design for the background, intending to use only black multiliner detail for the entire background, but then I decided against it. Holy cow, long post. Thank you for sticking around! What do you think, compared to my others (if you’ve seen them)?

